Effective Ways to Record Screen on Windows 10 in 2025: Improve Your Skills Today!
How to Record Screen on Windows 10: Effective Ways to Capture Your Screen in 2025
In today’s digital landscape, knowing how to record screen on Windows 10 has become essential for professionals, educators, and content creators alike. With advancements in technology, there are various methods and tools available that make screen recording more efficient. This article will guide you through effective ways to capture your screen, discuss popular screen recording software for Windows 10, and provide practical tips for achieving high-quality recordings.
Understanding Windows 10 Screen Recording Features
Windows 10 comes equipped with built-in screen recording options that make it easy to record screen in Windows 10. Whether you’re creating tutorials, capturing gameplay, or conducting presentations, these tools can help you effectively document your screen activity. A significant feature that stands out is the Game Bar, which is designed for recording gameplay on Windows 10 but works seamlessly for other screen activities as well.
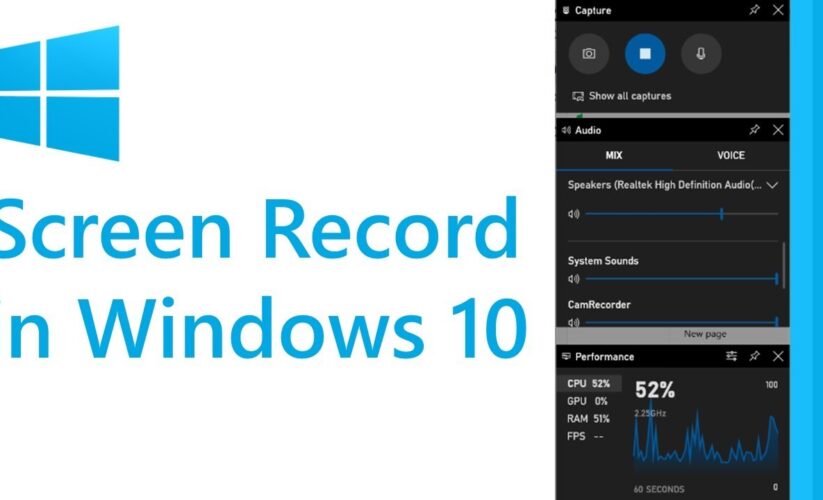
Accessing Screen Recording Features in Windows 10
To start using the screen recording features in Windows 10, you will first need to ensure that the feature is enabled. You can access these options by pressing Windows Key + G. The Game Bar will pop up, displaying various options like screenshot capture and recording. If this is your first time using it, make sure you allow permissions that the Game Bar requests. This will ensure a smoother recording experience and enable you to utilize the complete set of features.
Using the Game Bar to Record
The Game Bar is a powerful tool for recording various activities on your computer, not just gaming. To use this feature effectively, follow these steps:
1. Open the window you want to record (application or desktop).
2. Press Windows Key + G to launch the Game Bar.
3. Click the recording icon or use the shortcut Windows Key + Alt + R to start recording.
4. After recording, you can access your clips in the Videos > Captures folder.
This is a great way to record desktop screen Windows 10 while ensuring minimal interruptions.
Exploring Other Windows 10 Screen Recording Tools
While the Game Bar is user-friendly, there are other **screen recording tools** available that offer advanced features for professionals. For instance, using third-party applications like OBS Studio allows you to have greater control over your recordings, including customizable settings for video and audio. Before choosing a tool, consider what features you need, such as the ability to record audio along with the video, which is vital for creating engaging content.
Choosing the Best Screen Recorder for Windows 10
Choosing the right screen recording application can significantly impact your recording quality and overall experience. A good screen recorder for Windows 10 should support high-quality video capture and allow easy editing capabilities. Here, we’ll explore some of the best screen recording options available.
Popular Screen Recording Applications
Some widely used applications for screen recording include:
1. **OBS Studio:** Offers advanced features and customization options for both video and audio. Best for users seeking high-quality screen captures for livestreams or detailed tutorials.
2. **Snagit:** Known for its ease of use, Snagit instantly captures both images and videos, making it ideal for quick recordings.
3. **Bandicam:** A favorite for gamers, Bandicam supports high-quality gameplay capture and has options for distinguishing recording areas.
Selecting the right application depends on your specific needs, whether for quick captures or extensive video projects. Make sure to check compatibility before downloading and setting up the software.
Screen Recording Settings For Optimal Quality
To ensure you achieve the best quality in your recordings, it’s crucial to configure your settings properly. Start by selecting the resolution and frame rate most suitable for your purpose. A frame rate of 60 FPS is usually best for gameplay, while presentations can do nicely at 30 FPS. Always check your audio settings to ensure that the background sound levels are balanced, especially if you want to record audio and video on Windows 10.
Tips and Tricks for Effective Screen Recording
Maximize your screen recording experience by incorporating some proven tips that streamline capturing processes. Knowing these screen recording tips for Windows 10 will help you deliver professional-quality videos.
Preparing for a Smooth Recording Session
Preparation is key to successful recordings. Here are some steps to follow before you hit record:
1. **Clean Your Desktop:** Close unnecessary applications and organize windows. A clutter-free desktop helps viewers focus on the main content.
2. **Conduct a Test Run:** Validate all necessary settings and test the audio to ensure everything works seamlessly before the final recording.
3. **Optimal Lighting:** Adjust your camera setup if you are showing your face in tutorials. Good lighting can make a world of difference in quality.
Scheduling Screen Recordings
If you’re busy but want to capture critical events, scheduling your screen recordings can be a game-changer. Some software, like OBS Studio, allows you to set a timer for when to start and stop recording. This is useful for documenting webinars or important meetings without needing to monitor them personally.
Edit Your Videos for Professional Touch
Editing is crucial after your recording session. Use editing tools available in most screen recording applications to trim extraneous parts, add text, or combine clips as necessary. It can significantly enhance the quality of screen recordings on Windows 10. You can also explore professional editing software like Adobe Premiere Pro or Camtasia for more comprehensive editing abilities.
Key Takeaways
- Windows 10 offers built-in tools like the Game Bar for convenient screen recording.
- Choosing the right screen recorder can enhance your productivity and recording quality.
- Preparing your environment and understanding your recording settings can vastly improve your output quality.
- Editing recordings can transform a good video into a great one, ensuring your content is engaging.
FAQ
1. What software can I use for screen recording on Windows 10?
There are numerous effective options including native tools like the Game Bar, as well as third-party software such as OBS Studio, Snagit, and Bandicam. Choosing between them depends on your specific needs, whether for gameplay, presentations, or tutorials.
2. How can I record my screen with audio on Windows 10?
To record screens with audio on Windows 10, ensure that you configure the audio settings in your recording software. The Game Bar allows you to record game plays with system sounds and voice overlays, while OBS Studio gives you great customization to blend various audio inputs for clearer output.
3. Can I record my screen without using additional software on Windows 10?
Yes, Windows 10 includes the Game Bar, which can be used without additional software. Just press Windows Key + G to access the feature and begin recording your screen quickly.
4. What settings should I use for high-quality screen recordings?
For high-quality screen recordings, set your resolution between 1080p or higher and maintain a frame rate of 30 to 60 FPS depending on your recording type. Also, ensure that your audio settings are optimized for clarity.
5. How do I share my screen recordings on Windows 10?
You can share screen recordings by locating them in the file folder typically found under Videos > Captures. You can then share these files through email, cloud storage, or upload them directly to video platforms like YouTube for broader access.
6. Is there a free screen recording software available for Windows 10?
Yes, there are several free options such as OBS Studio and the built-in Game Bar. Both offer solid functionality for basic recording tasks without cost.
7. How can I edit my screen recordings on Windows 10?
After recording, you can use editing tools included within screen capture applications or third-party video editors like Windows Movie Maker or Adobe Premiere Pro to trim and enhance your videos.