How to Effectively Screen Record on Windows 10: Smart Tips for 2025
How to Effectively Screen Record on Windows 10
Screen recording has become an essential tool for everyone, from gamers to educators and corporate professionals. Whether you’re creating tutorials, recording gameplay, or capturing presentations, knowing how to screen record on Windows 10 is crucial. This guide provides practical tips and techniques for effective screen recording in 2025, helping you harness the full potential of your Windows 10 device.
Understanding Windows 10 Screen Recording Features
Windows 10 offers robust options for screen recording that cater to various needs. One of the most renowned tools is the Xbox Game Bar, which allows users to easily set up a recording session without the need for additional software. If you are wondering how to use Xbox Game Bar, it is an integrated feature specifically designed for gamers but equally beneficial for anyone needing to capture their screen.
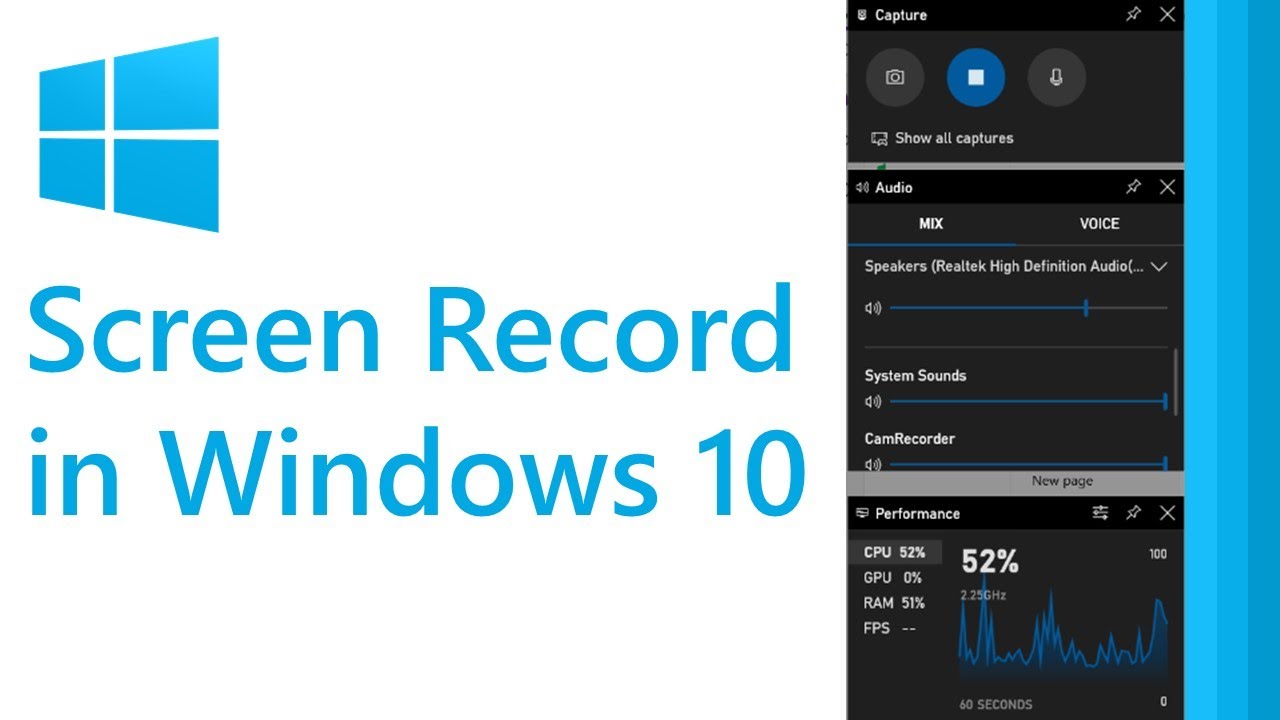
Accessing the Game Bar in Windows 10
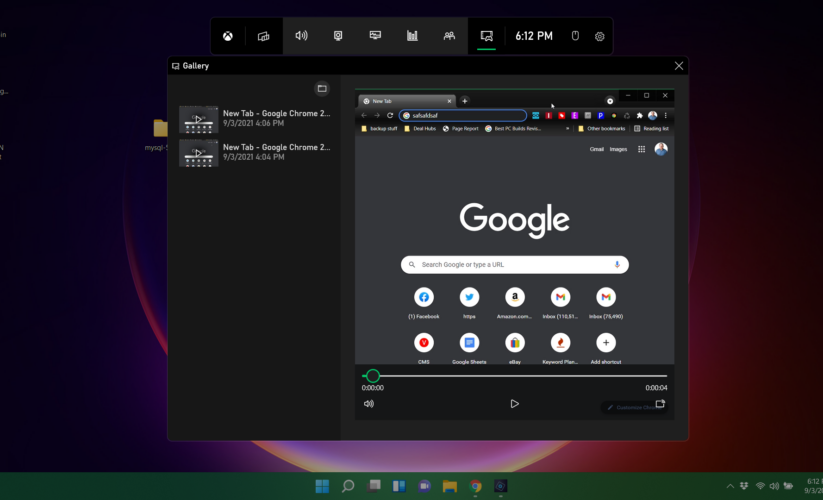
To begin using the Xbox Game Bar, simply press Windows key + G to open the interface. You can find various widgets associated with audio, performance, and other useful tools here. This streamlined experience permits you to capture directly through the Game Bar without interrupting your workflow. You can easily initiate screen recording by hitting the Record button or using the shortcut Windows key + Alt + R.
Best Practices for Screen Recording Settings
To achieve optimal results, adjusting your screen recording settings Windows 10 is paramount. Ensure you’re recording at a high resolution to improve video quality, especially if you’re sharing recordings online. When aiming for higher quality, settings like a frame rate of at least 30 fps (frames per second) can make a significant difference. Don’t forget to select audio capture options to include sound—this enhances tutorials by allowing voice narrations or background music.
Choosing the Right Screen Recording Software for Windows 10
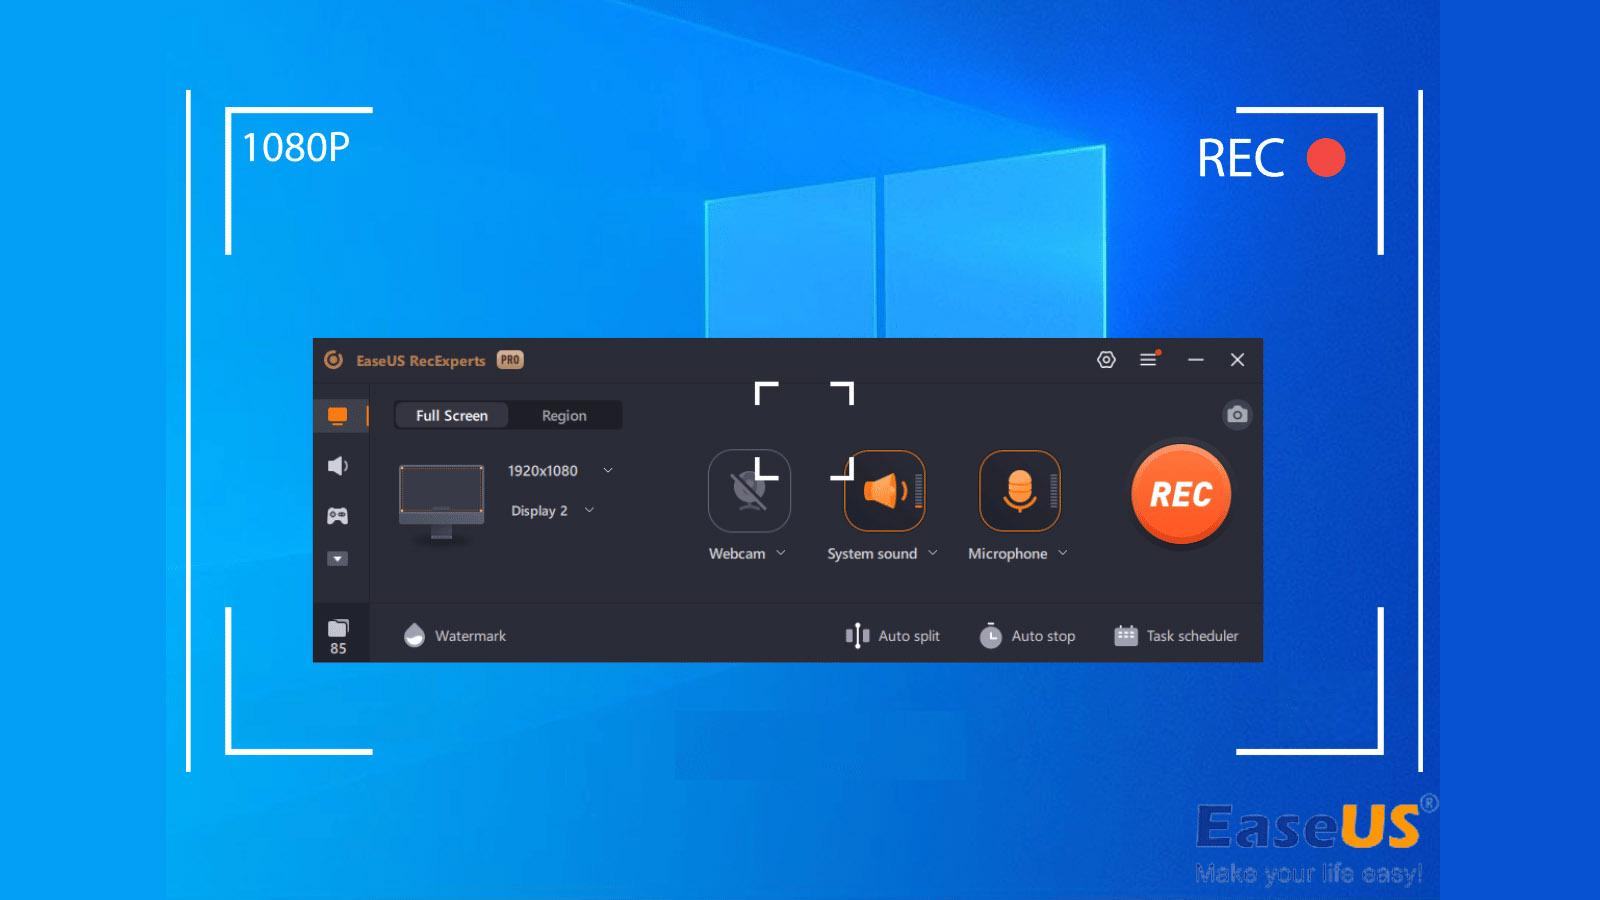
While the Xbox Game Bar is a versatile choice, there are plenty of third-party screen recording software for Windows 10 worth exploring. Options like OBS Studio, Camtasia, and Bandicam offer advanced features that can cater to more specific needs, enhancing your screen capture experience.
Review of Advanced Screen Recording Tools
OBS Studio is popular among gamers and professionals for its flexibility and extensive features. It allows users to create multiple scenes, layer content, and record high-quality footage. Additionally, Camtasia combines screen recording and video editing tools for more polished outputs, perfect for those who want to produce tutorials or instructional videos seamlessly. These tools may have a steeper learning curve, yet they are extremely powerful in creating high-quality content.
Exploring Alternative Screen Recording Apps
If you’re seeking a more straightforward user experience, several intuitive screen recording apps for Windows 10 can effectively meet your needs. Snagit, for example, is fantastic for quickly capturing images and videos. It also includes annotation features that are particularly useful for educational content. Consider your primary use case—such as if you need the app for gaming or professional reasons—before deciding on the right software.
How to Record Gameplay and Capture Videos Effectively
Recording gameplay can be particularly tricky, but with the right techniques, you can achieve high-quality results. For gamers, knowing how to record gameplay Windows 10 is essential for content creation, live streaming, or sharing highlights with friends.
Step-by-step Guide to Gameplay Recording
To efficiently record gameplay Windows 10, first ensure your video card drivers are updated for smoother performance. Make sure to adjust the settings in your recording software or Game Bar to focus on the specific game window. Next, always perform a quick test recording to troubleshoot any existing audio or performance problems before capturing longer gameplay sessions. This will save you time and potential frustrations in editing post-capture.
Optimizing Performance During Screen Recording
When running resource-intensive applications like games, system performance can suffer. To mitigate this, close unnecessary applications and allocate more resources to the screen recording process. Using a dedicated recording software that allows you to set process priorities can further boost recording quality by managing system resources more efficiently.
Editing and Sharing Your Recorded Content
Once you’ve completed your screen recordings, the next step is editing. Knowing how to edit recorded videos Windows 10 can significantly improve the final product, whether you’re crafting a tutorial or a gameplay montage.
Utilizing Video Editing Software
After screen video recording Windows 10 is completed, tools like Shotcut or DaVinci Resolve can help you pieces together. Both provide essential editing functionalities, including trimming, adding effects, and overlaying audio tracks. The key is to keep your edits succinct and focus on delivering contents that adds value—this might mean cutting out any long formation or unnecessary footage.
Sharing Your Screen Recordings
Once your video looks perfect, sharing it becomes the final hurdle. Utilize platforms such as YouTube, Vimeo, or even a school’s digital portal if you’re creating an educational video. Each of these services has their own unique requirements, such as optimizing for web resolution or aspect ratio, so take time to familiarize with those beforehand. Also, consider your audience; engage with them based on where you share the recording, tailoring your presentation to fit the platform.
Key Takeaways
- Utilize the Xbox Game Bar for quick screen recording on Windows 10.
- Opt for third-party software if advanced features and editing capabilities are needed.
- Always test your settings and system performance before recording gameplay.
- Edit your recordings to improve quality and engage your audience before sharing.
- Pay attention to resolution and audio settings for best results in screen capturing.
FAQ
1. Can I record screen without software on Windows 10?
Yes, Windows 10 includes a built-in Xbox Game Bar, which allows you to record screen without software. Simply press the Windows key + G and click on the record button to start capturing.
2. How can I capture screen video with sound?
To record screen with audio Windows 10, ensure you have selected the correct audio input in your recording settings and check the audio mixing levels through Game Bar or your preferred screen recording app.
3. What software can I use for advanced screen recording?
For more complex needs, you may want to explore advanced options like OBS Studio and Camtasia, which combine powerful recording capabilities with video editing features.
4. How do I troubleshoot common screen recording problems?
If you encounter issues while recording, start by checking system performance resources, ensuring that background applications are minimized. Additionally, verify your audio settings and confirm that the recording software is up to date.
5. Can I record my PowerPoint presentations?
Absolutely! You can easily record PowerPoint presentation Windows 10 by using the Game Bar or other third-party recording tools designed to capture your screen along with audio input.
6. What resolutions should I use for best screen recording quality?
A resolution of 1920×1080 (Full HD) is commonly recommended for high-quality screen recordings. Consider the output platform and adjust accordingly to avoid pixelation.
7. How to annotate videos while recording?
Some screen recording applications, like Snagit, allow you to annotate while recording. You can add text, shapes, and other visuals during the screen capture to enhance your instructional content.